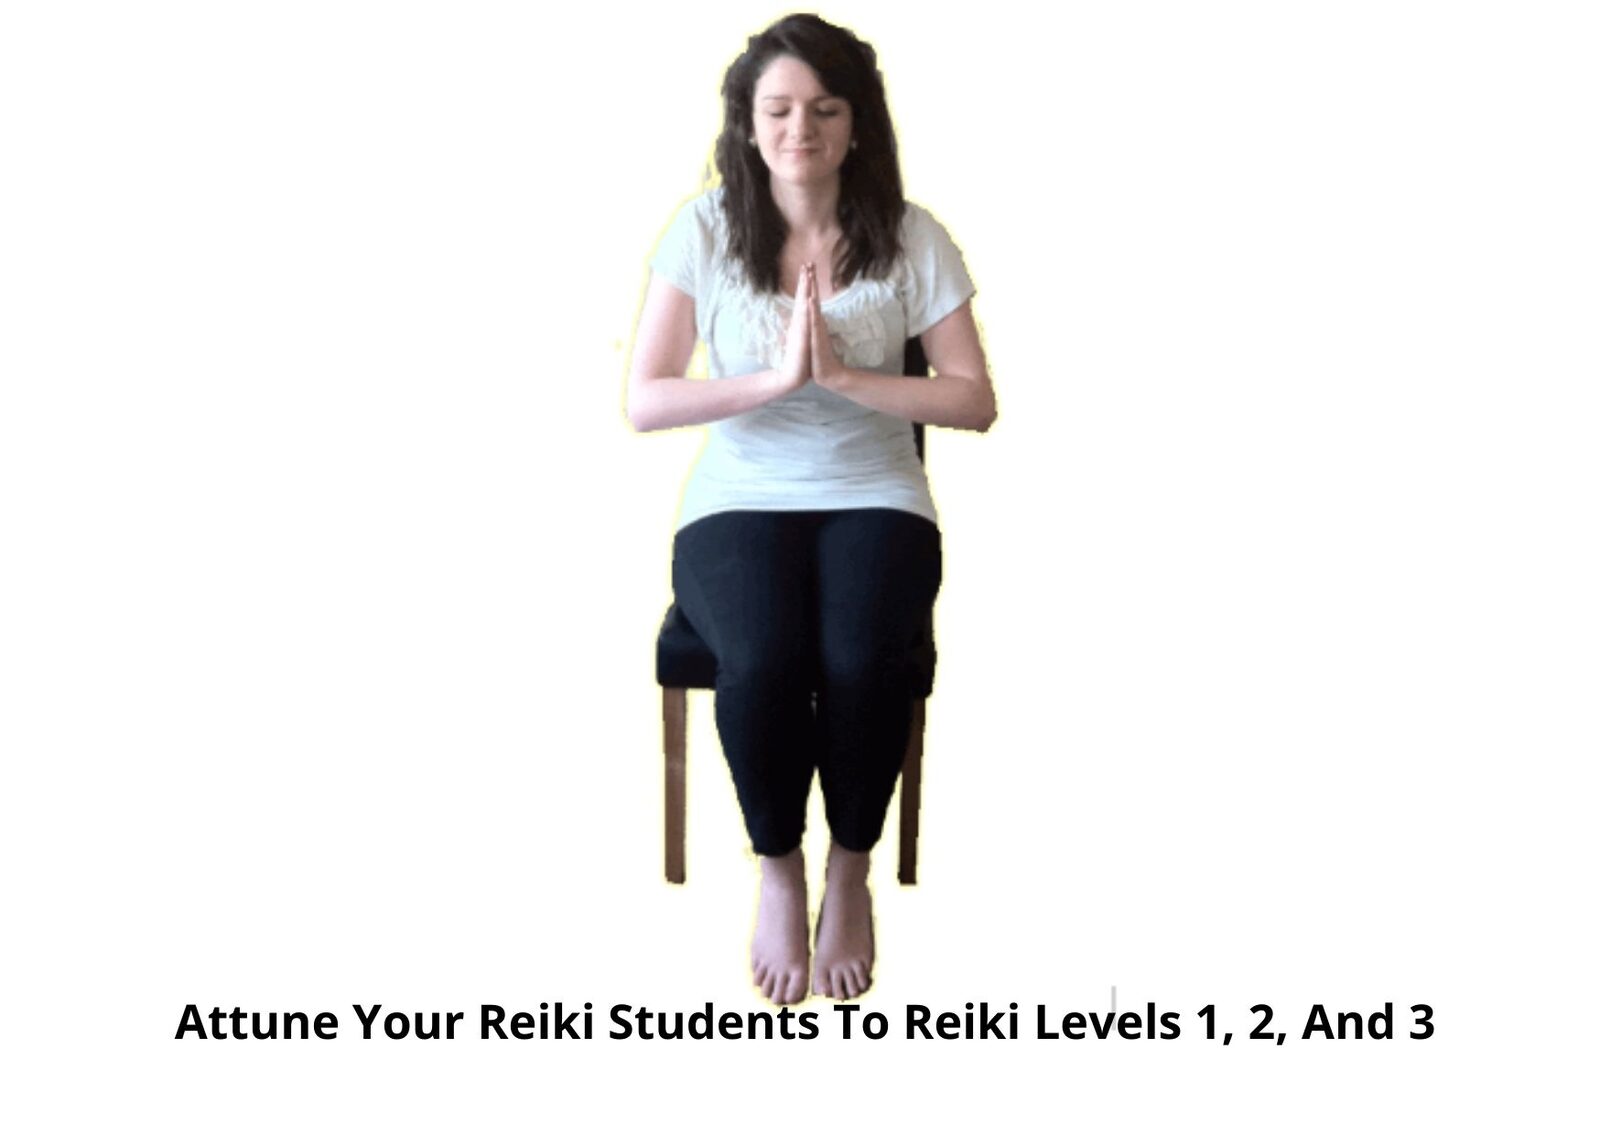
The combined attunement sequence below follows one Reiki teaching tradition. It is a spiritual ceremony, not a proven way to transmit energy or guarantee an effect. Students choose whether to take part, keep their eyes open or closed, and use music. Before every touch, hand movement, approach to the body, or breath gesture, explain that specific action and ask for a separate, clear yes. A student can choose a hands-off version, move their own hands, skip a step, pause or withdraw consent at any time. No spiritual intention overrides a stated no.
Combined Reiki 1, 2 And 3 Attunements
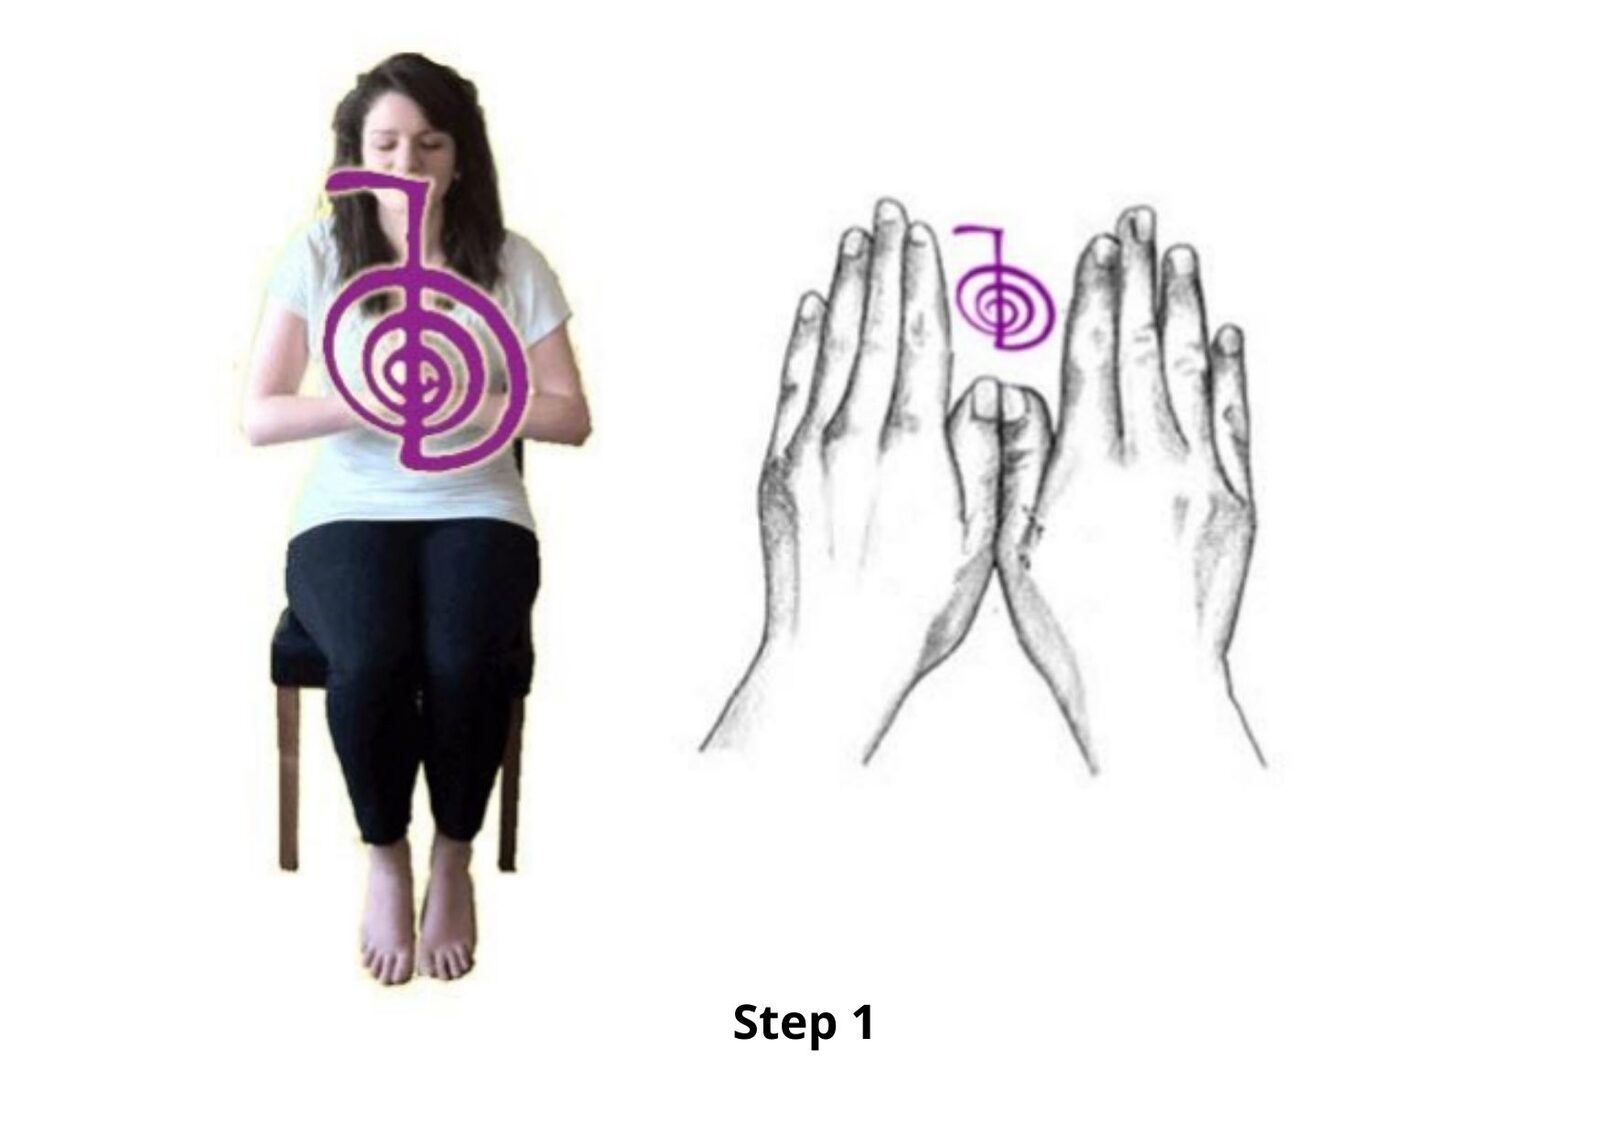
Step 1 (While Standing In Front Of The Reiki Student)
Ask whether the student wants to begin and where they would like you to stand. Prayer, closed eyes, music and a breath are optional; do not direct their breathing. If they prefer, they can keep their eyes open, sit quietly or skip the invocation. You may silently name CKR three times as part of your own practice. Draw or visualize the symbol in the air at a comfortable distance; do not touch the student's chest.
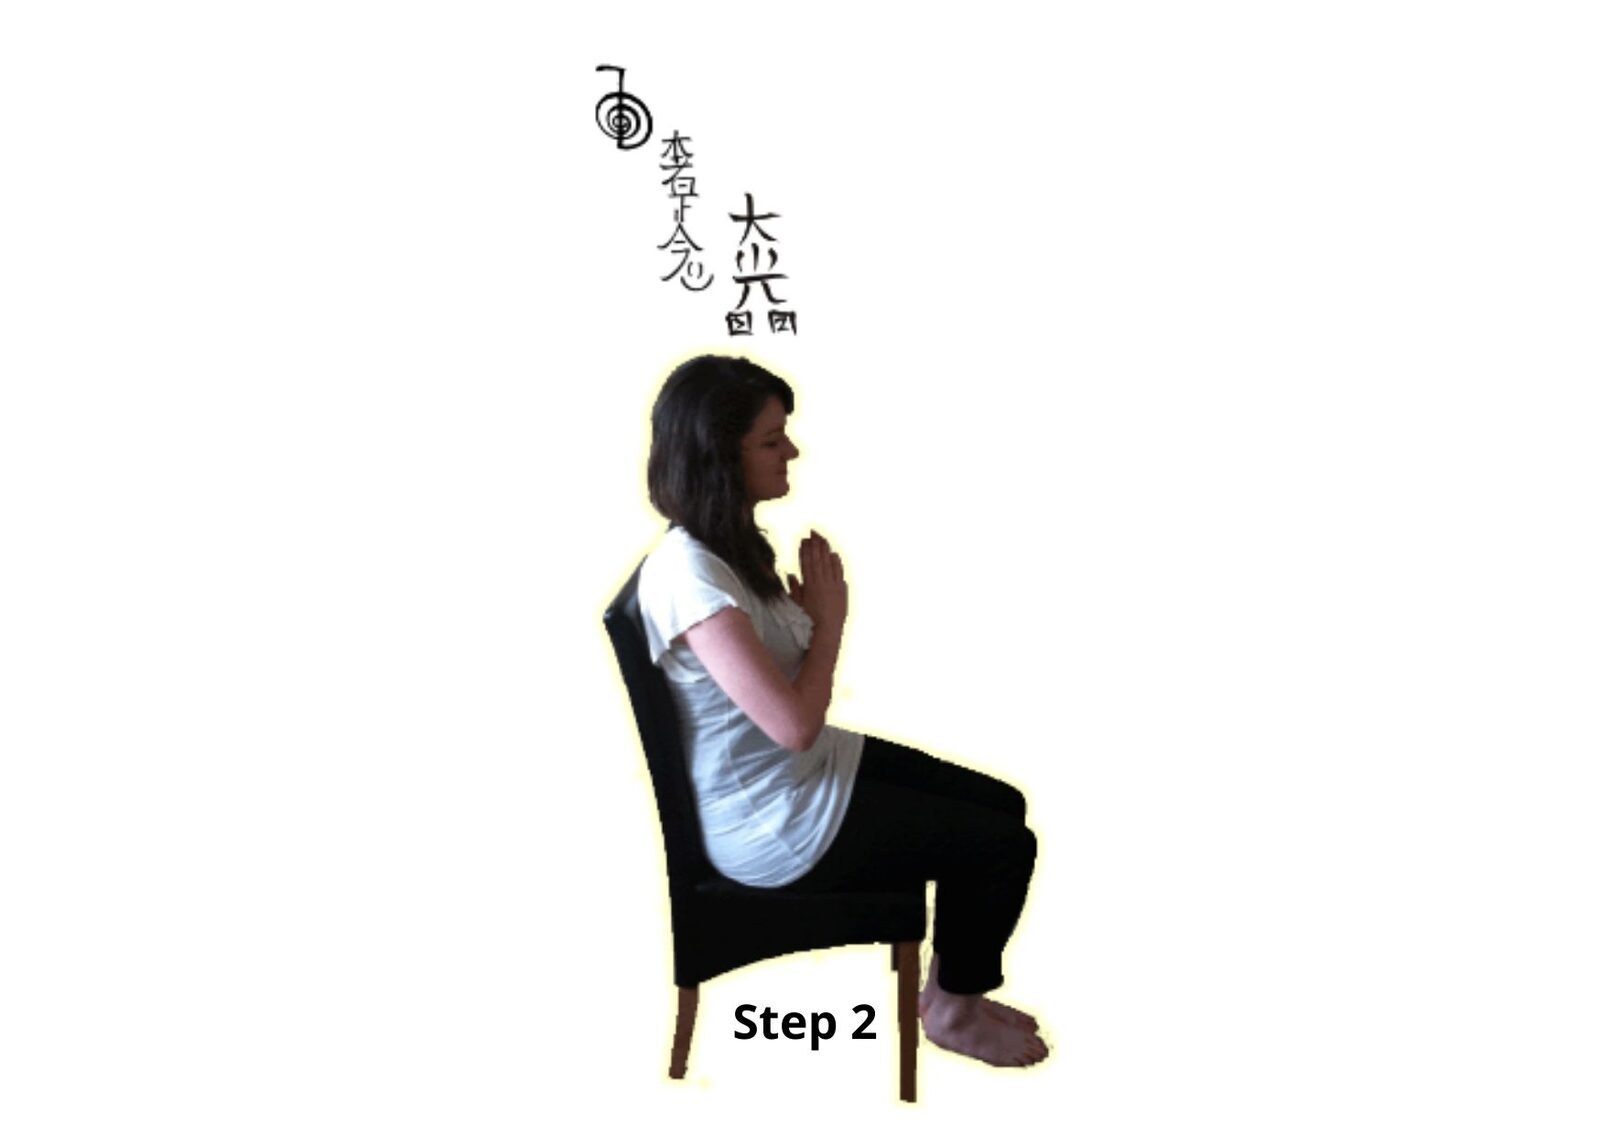
Step 2 (Standing Behind The Reiki Student)
Tell the student before you move behind them and ask whether they are comfortable with you standing there. Prayer and invocations of Reiki teachers or guides are optional, tradition-specific words. Ask separately before any shoulder contact; hovering nearby or drawing symbols in the air is an alternative. If you use Hui Yin in your own practice, it is optional and must not involve straining or breath-holding.
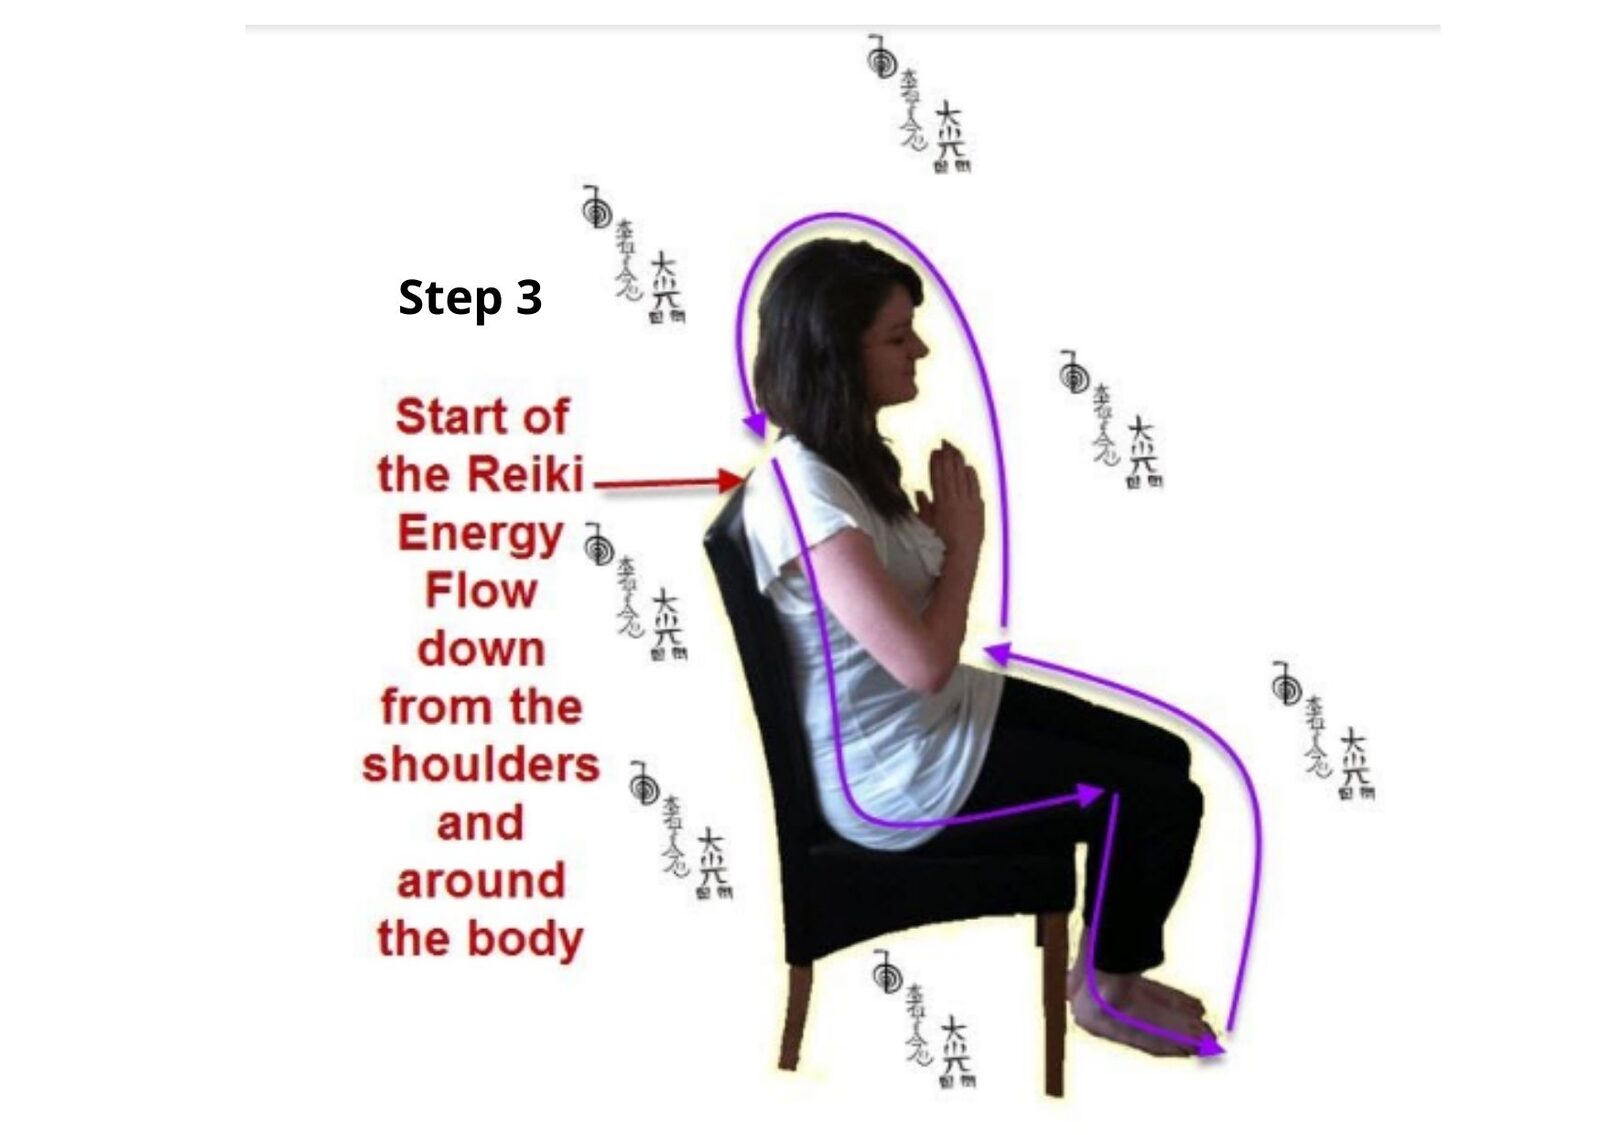
Step 3 (Standing Behind The Reiki Student)
If the student agrees to your position, draw or visualize CKR and DKM + HSZSN + CKR in the air above or near the crown. Describe where your hands will move and ask before each approach. Keep the gesture hands-off; do not touch the head, arms, chest, core, thighs or feet. Treat images of symbols moving through the body as visualization, not a physical process.
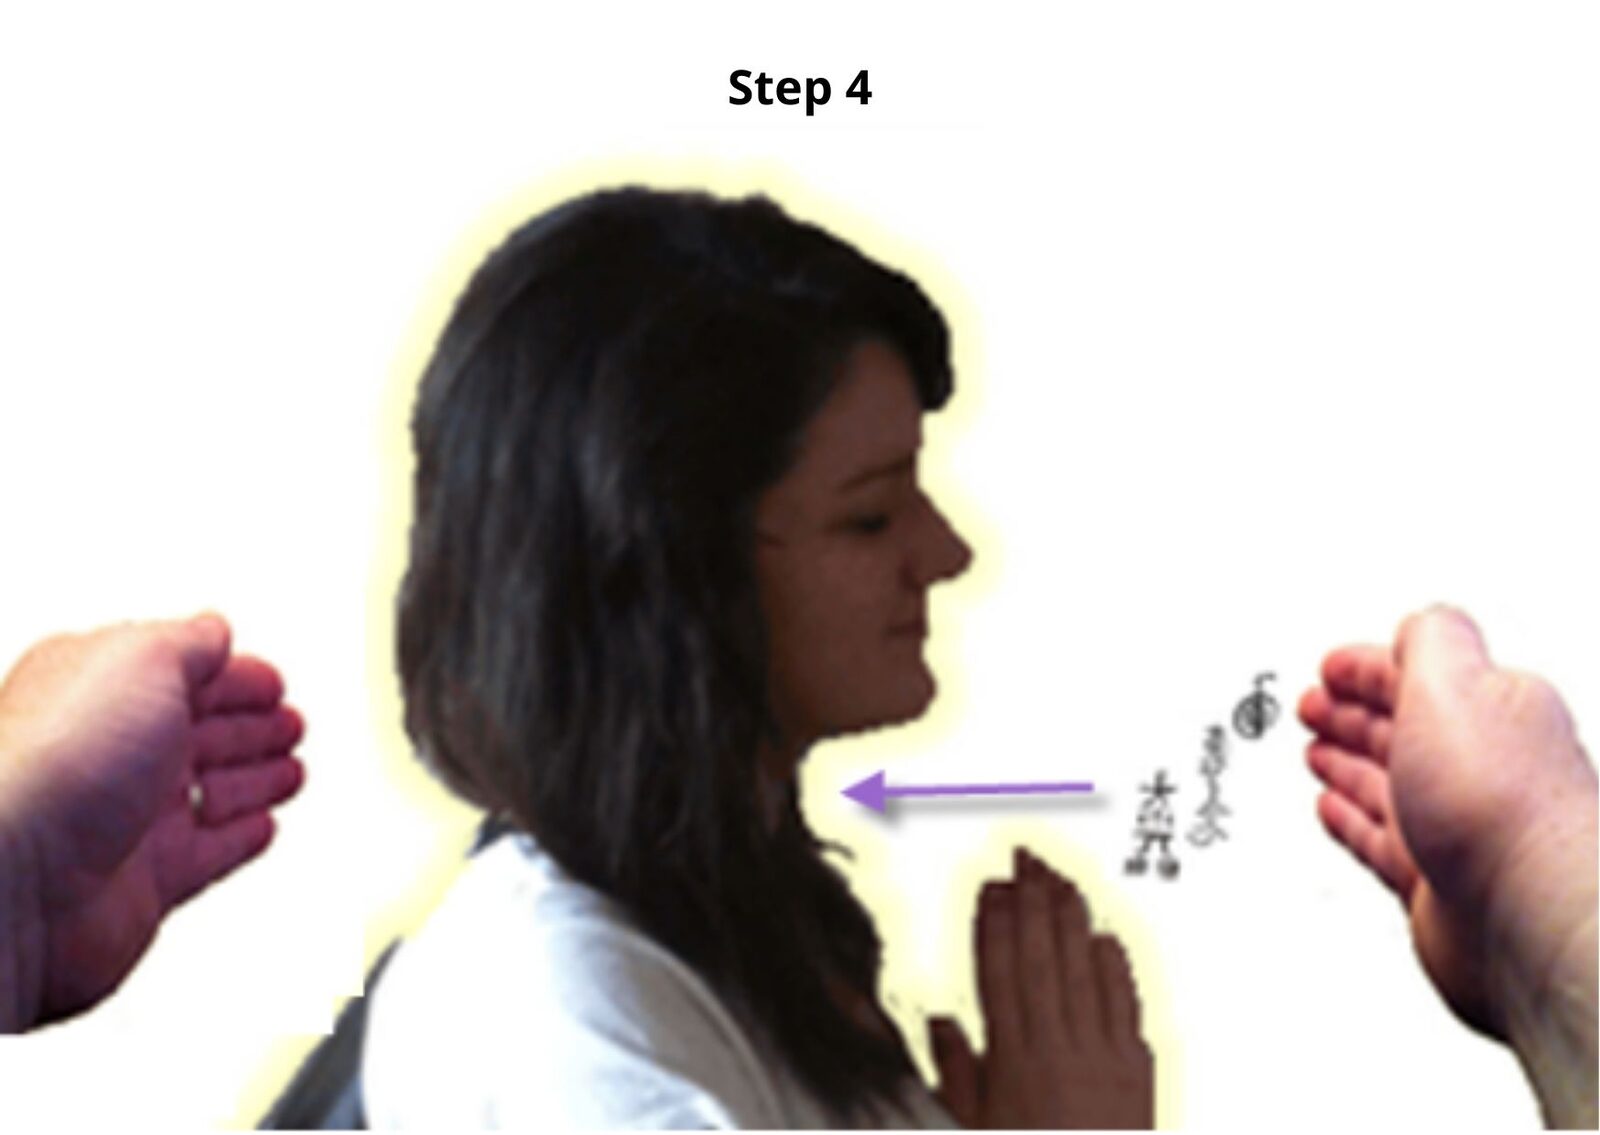
Step 4 (Standing At The Right Hand Side Of The Reiki Student)
If the student wants you to continue, tell them before moving to their side. Draw or visualize CKR in the air near the throat from a distance they choose. Do not place hands at the front or back of the neck. The student can choose a farther distance or skip this step.
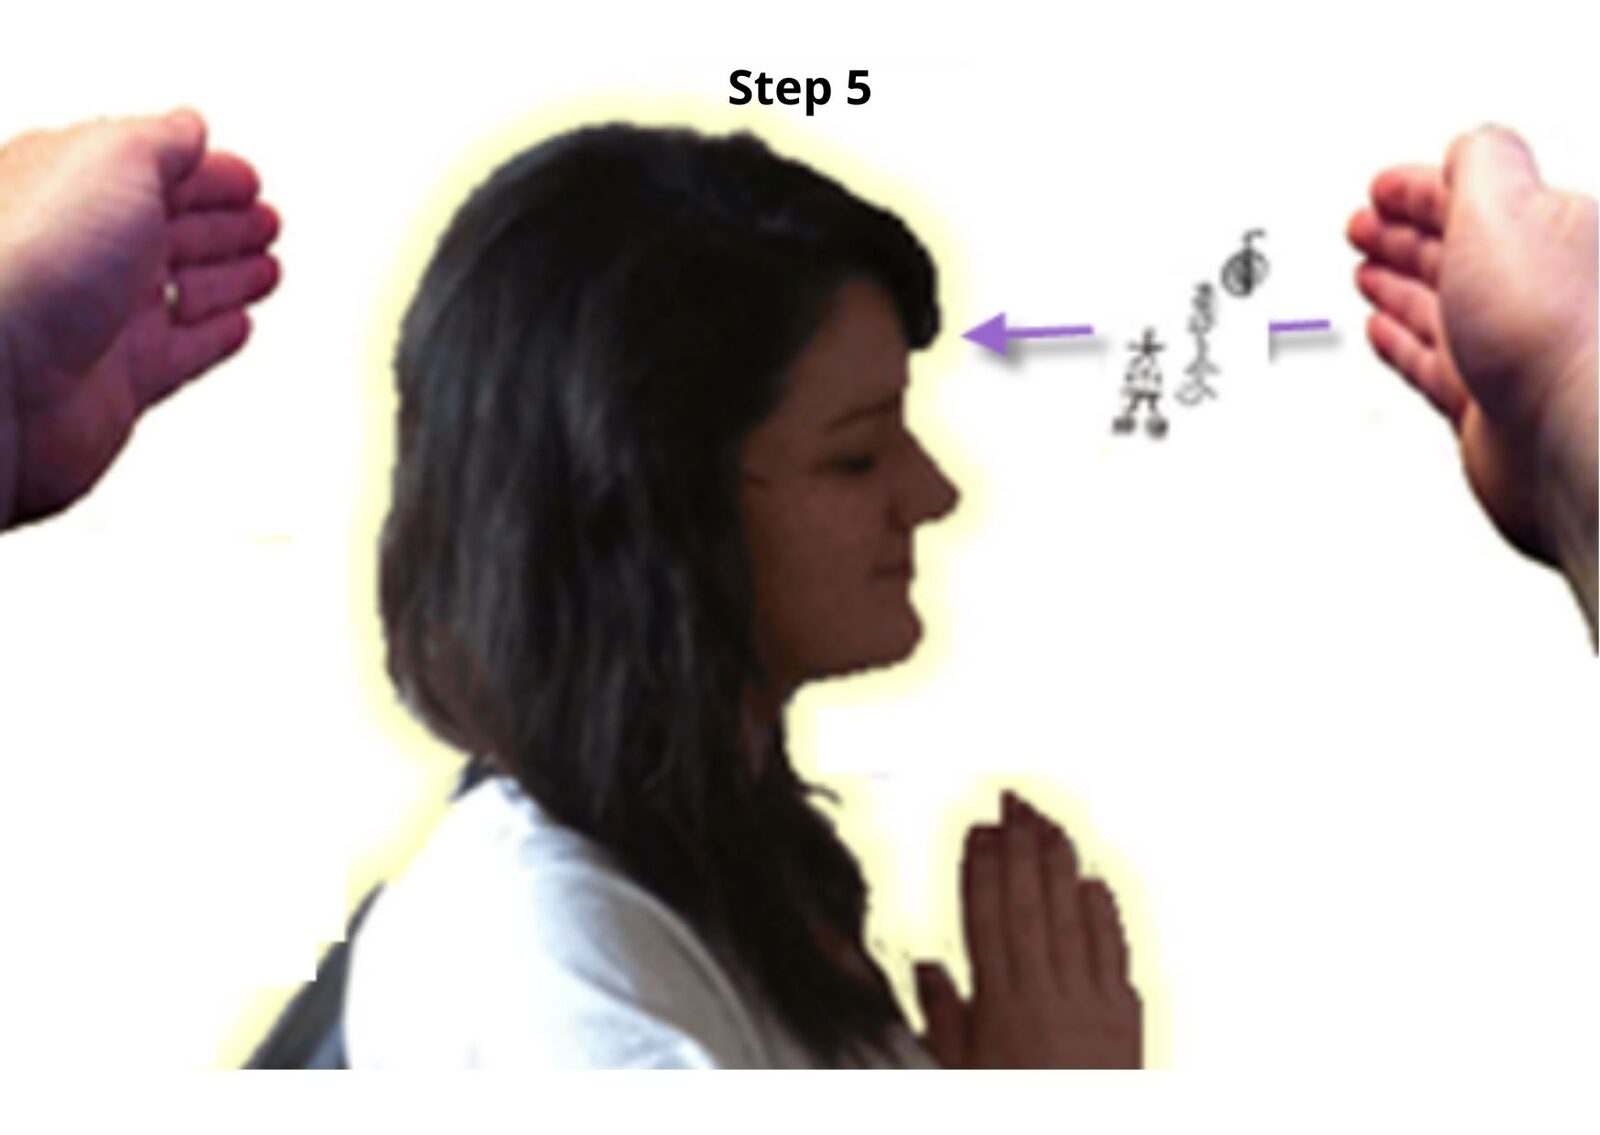
Step 5 (Standing At The Right Hand Side Of The Reiki Student)
Ask whether the student wants you to make a symbol gesture near the brow. Draw or visualize CKR and the other symbols in the air without touching or reaching across their face. They can keep their eyes open, choose more distance, or skip the step.
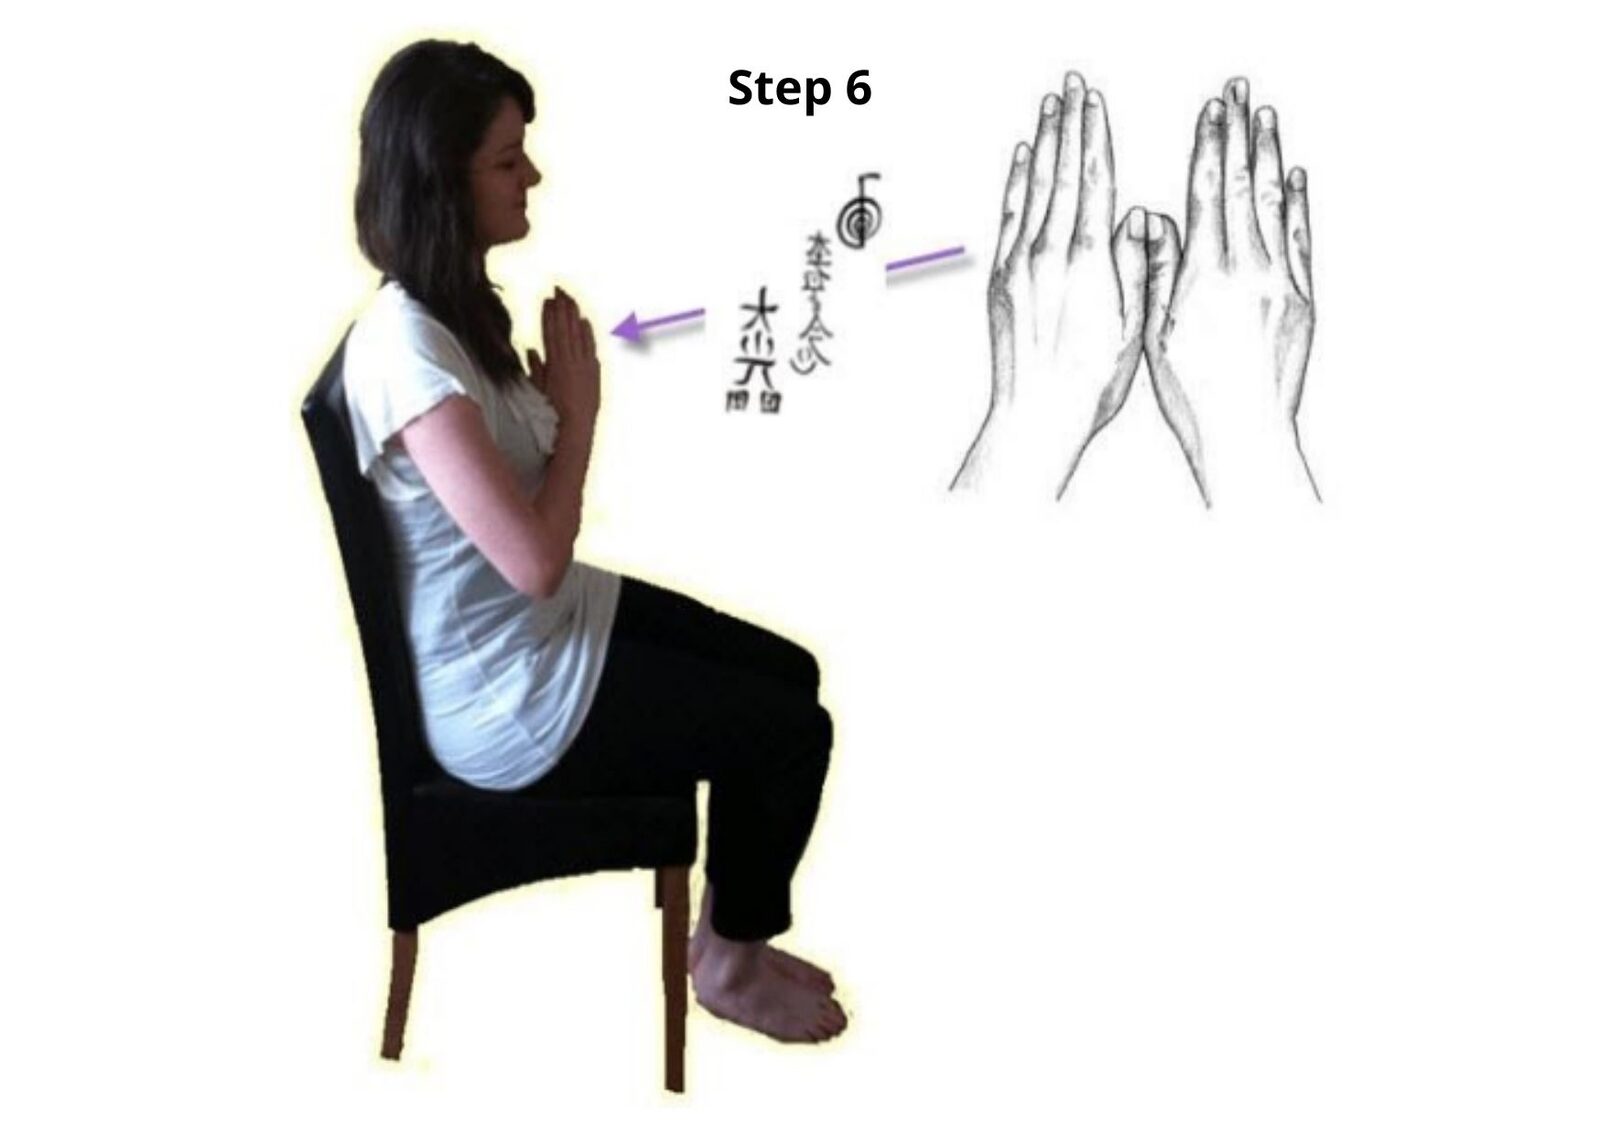
Step 6 (Standing In Front Of The Reiki Student)
Tell the student before moving in front of them. If they agree, draw or visualize CKR in the air at a comfortable distance near the heart area. Do not touch the chest. They can choose a hands-off gesture farther away or skip it.
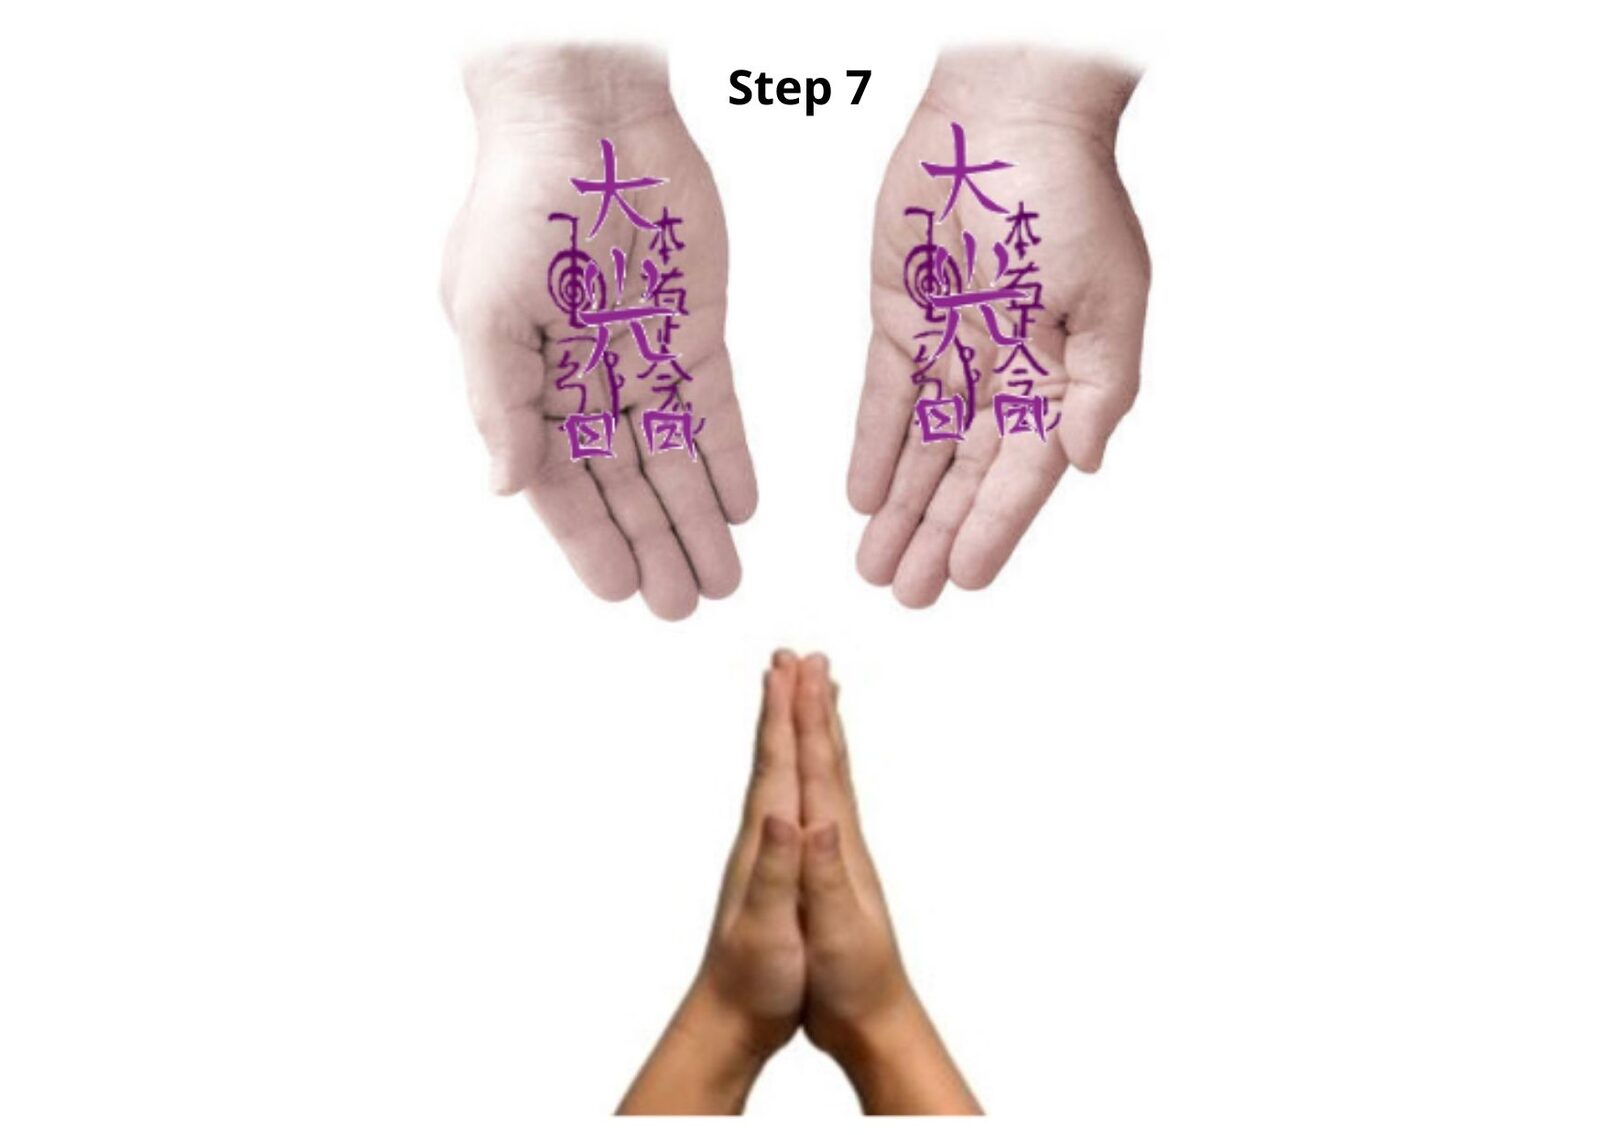
Step 7 (Standing In Front Of The Reiki Student)
Invite the student to place their own hands wherever comfortable. If they want a symbol gesture, draw CKR and the chosen symbols in the air above the hands. Do not open, tap or reposition their hands. Ask before bringing your hands closer; they can observe from a distance or skip the step.
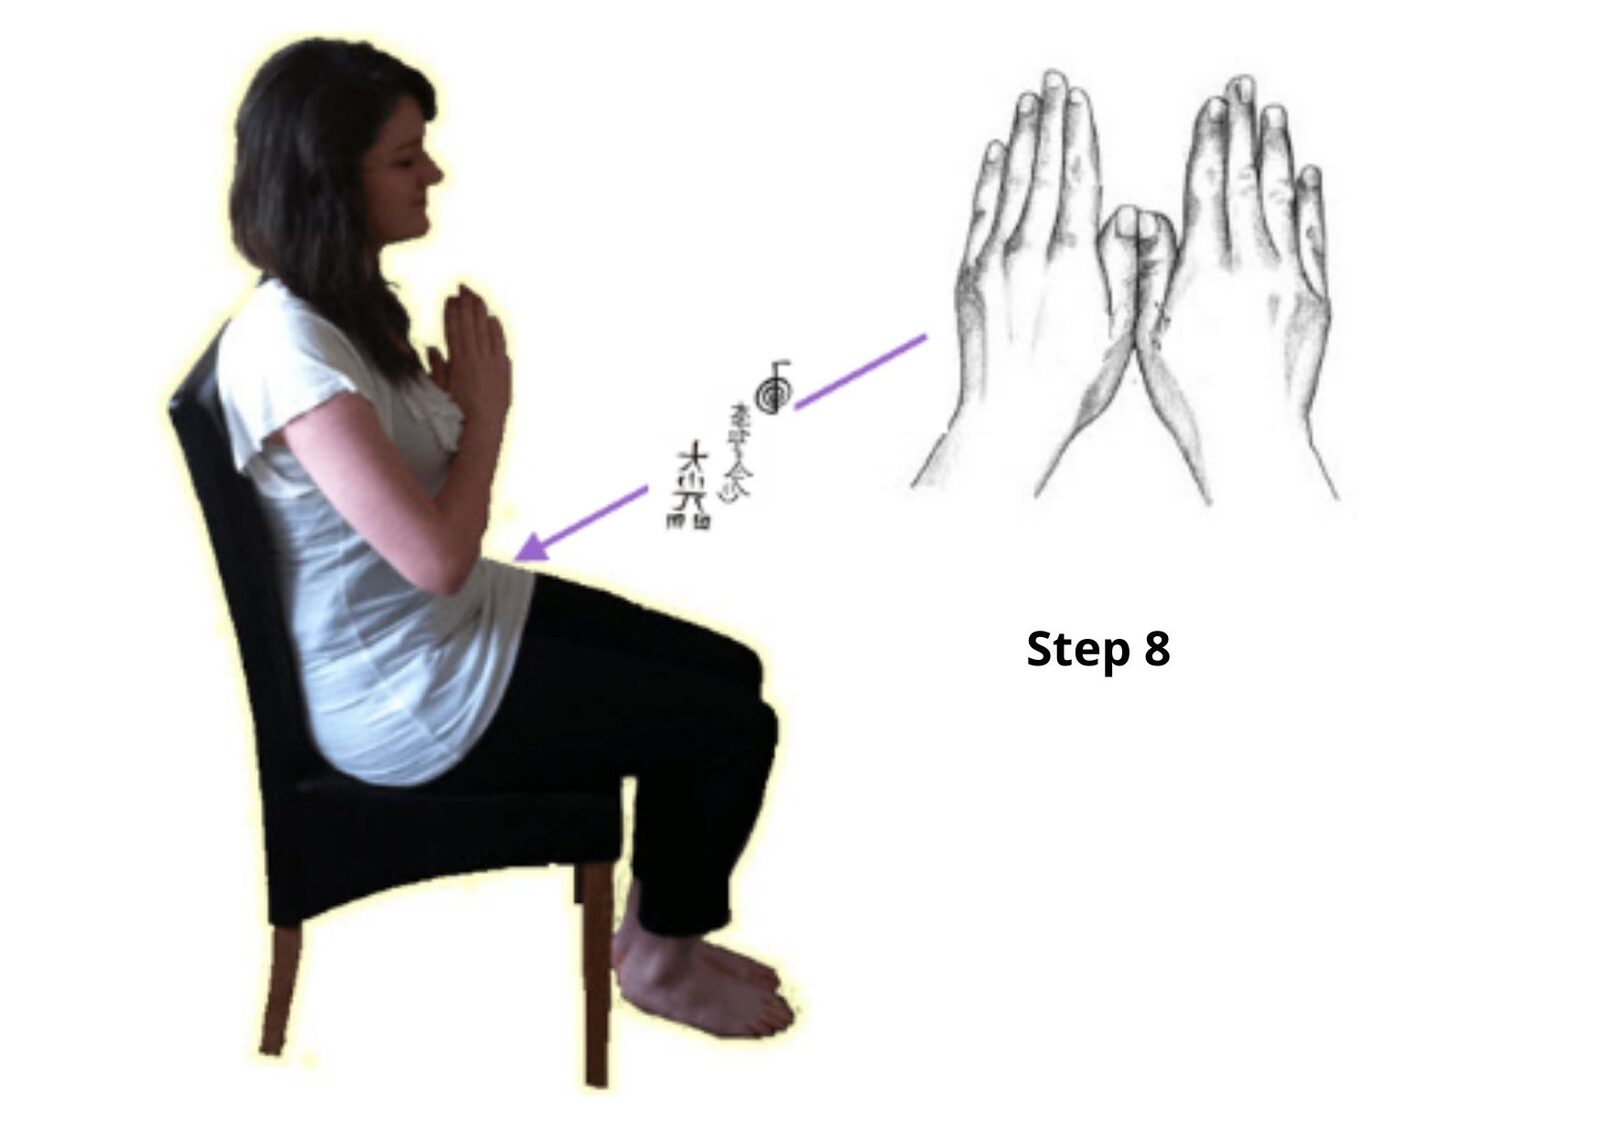
Step 8 (Standing In Front Of The Reiki Student)
If the student chooses to continue, draw or visualize CKR in the air at a comfortable distance. Do not touch the solar plexus, abdomen, sacrum or pelvis. They can ask you to move farther away or omit the gesture.
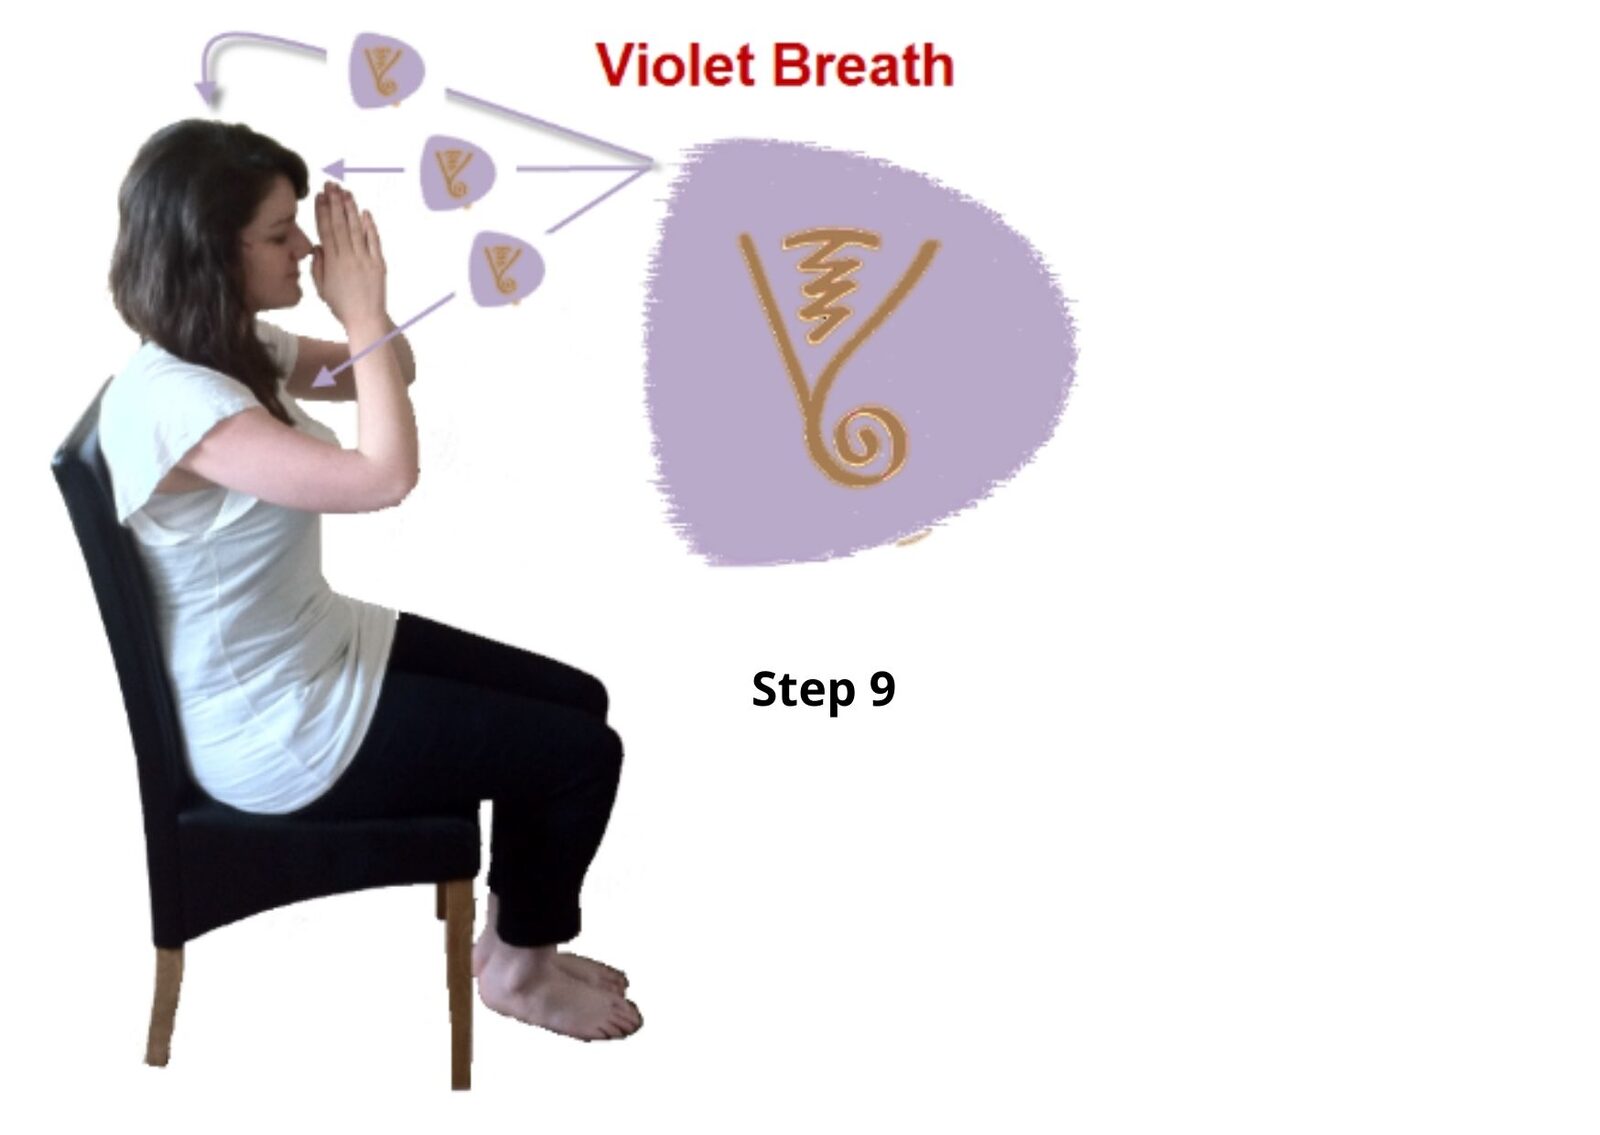
Step 9 (Standing In Front Of The Reiki Student)
The student may move their own hands to a comfortable position, or leave them where they are. If you use the Violet Breath visualization, breathe normally and imagine the symbol silently; do not hold your breath or exhale toward the student. Explain the visualization and ask whether they want it included. They can decline or withdraw permission.
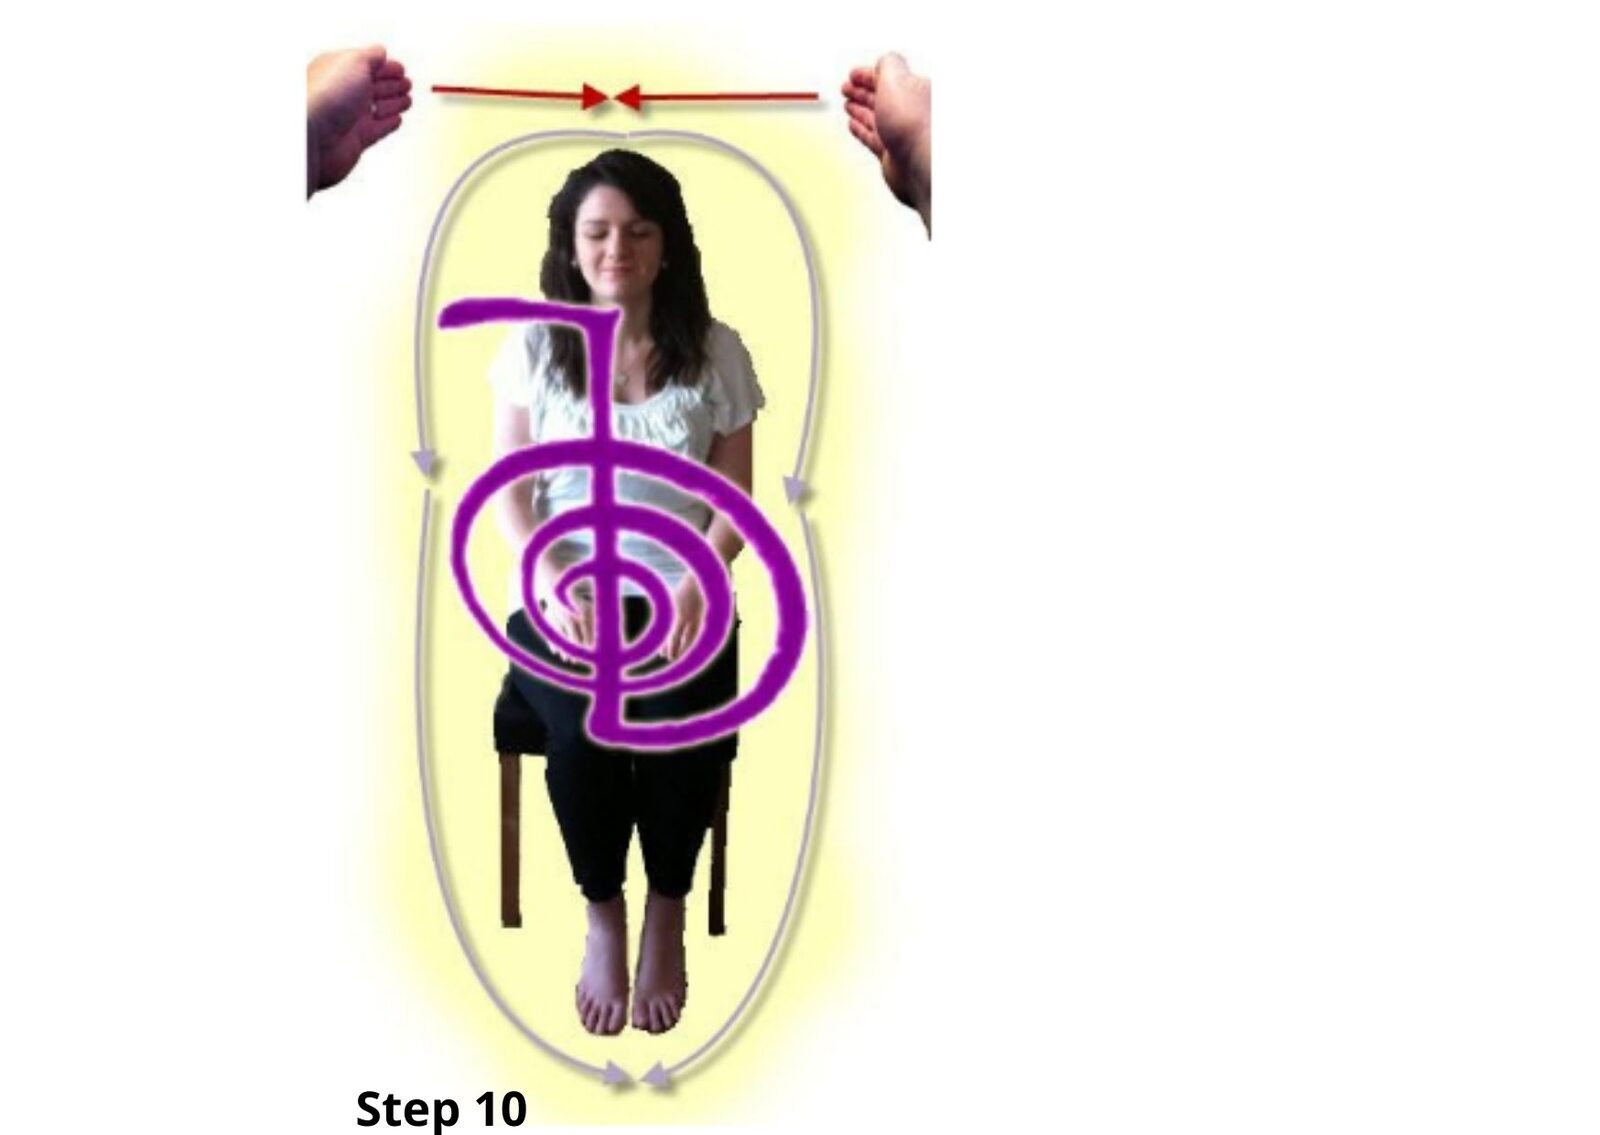
Step 10 (Standing In Front Of The Reiki Student)
Ask before moving closer or making a final symbol gesture. The student can rest their hands in their own lap; do not take or place them there. A grounding gesture can be drawn in the air or omitted. Do not make claims about cutting a lineage or conferring a professional title.
When the ceremony is complete, tell the student they may return to the room at their own pace. Ask whether they would like to share anything; do not require a report or treat their experience as proof that an attunement worked. A combined ceremony is one tradition's approach, not a universal standard or credential by itself.
Related topic: Levels and attunements, Advanced Reiki training, Reiki Level 2 course, After the third degree, Becoming a Reiki Master.